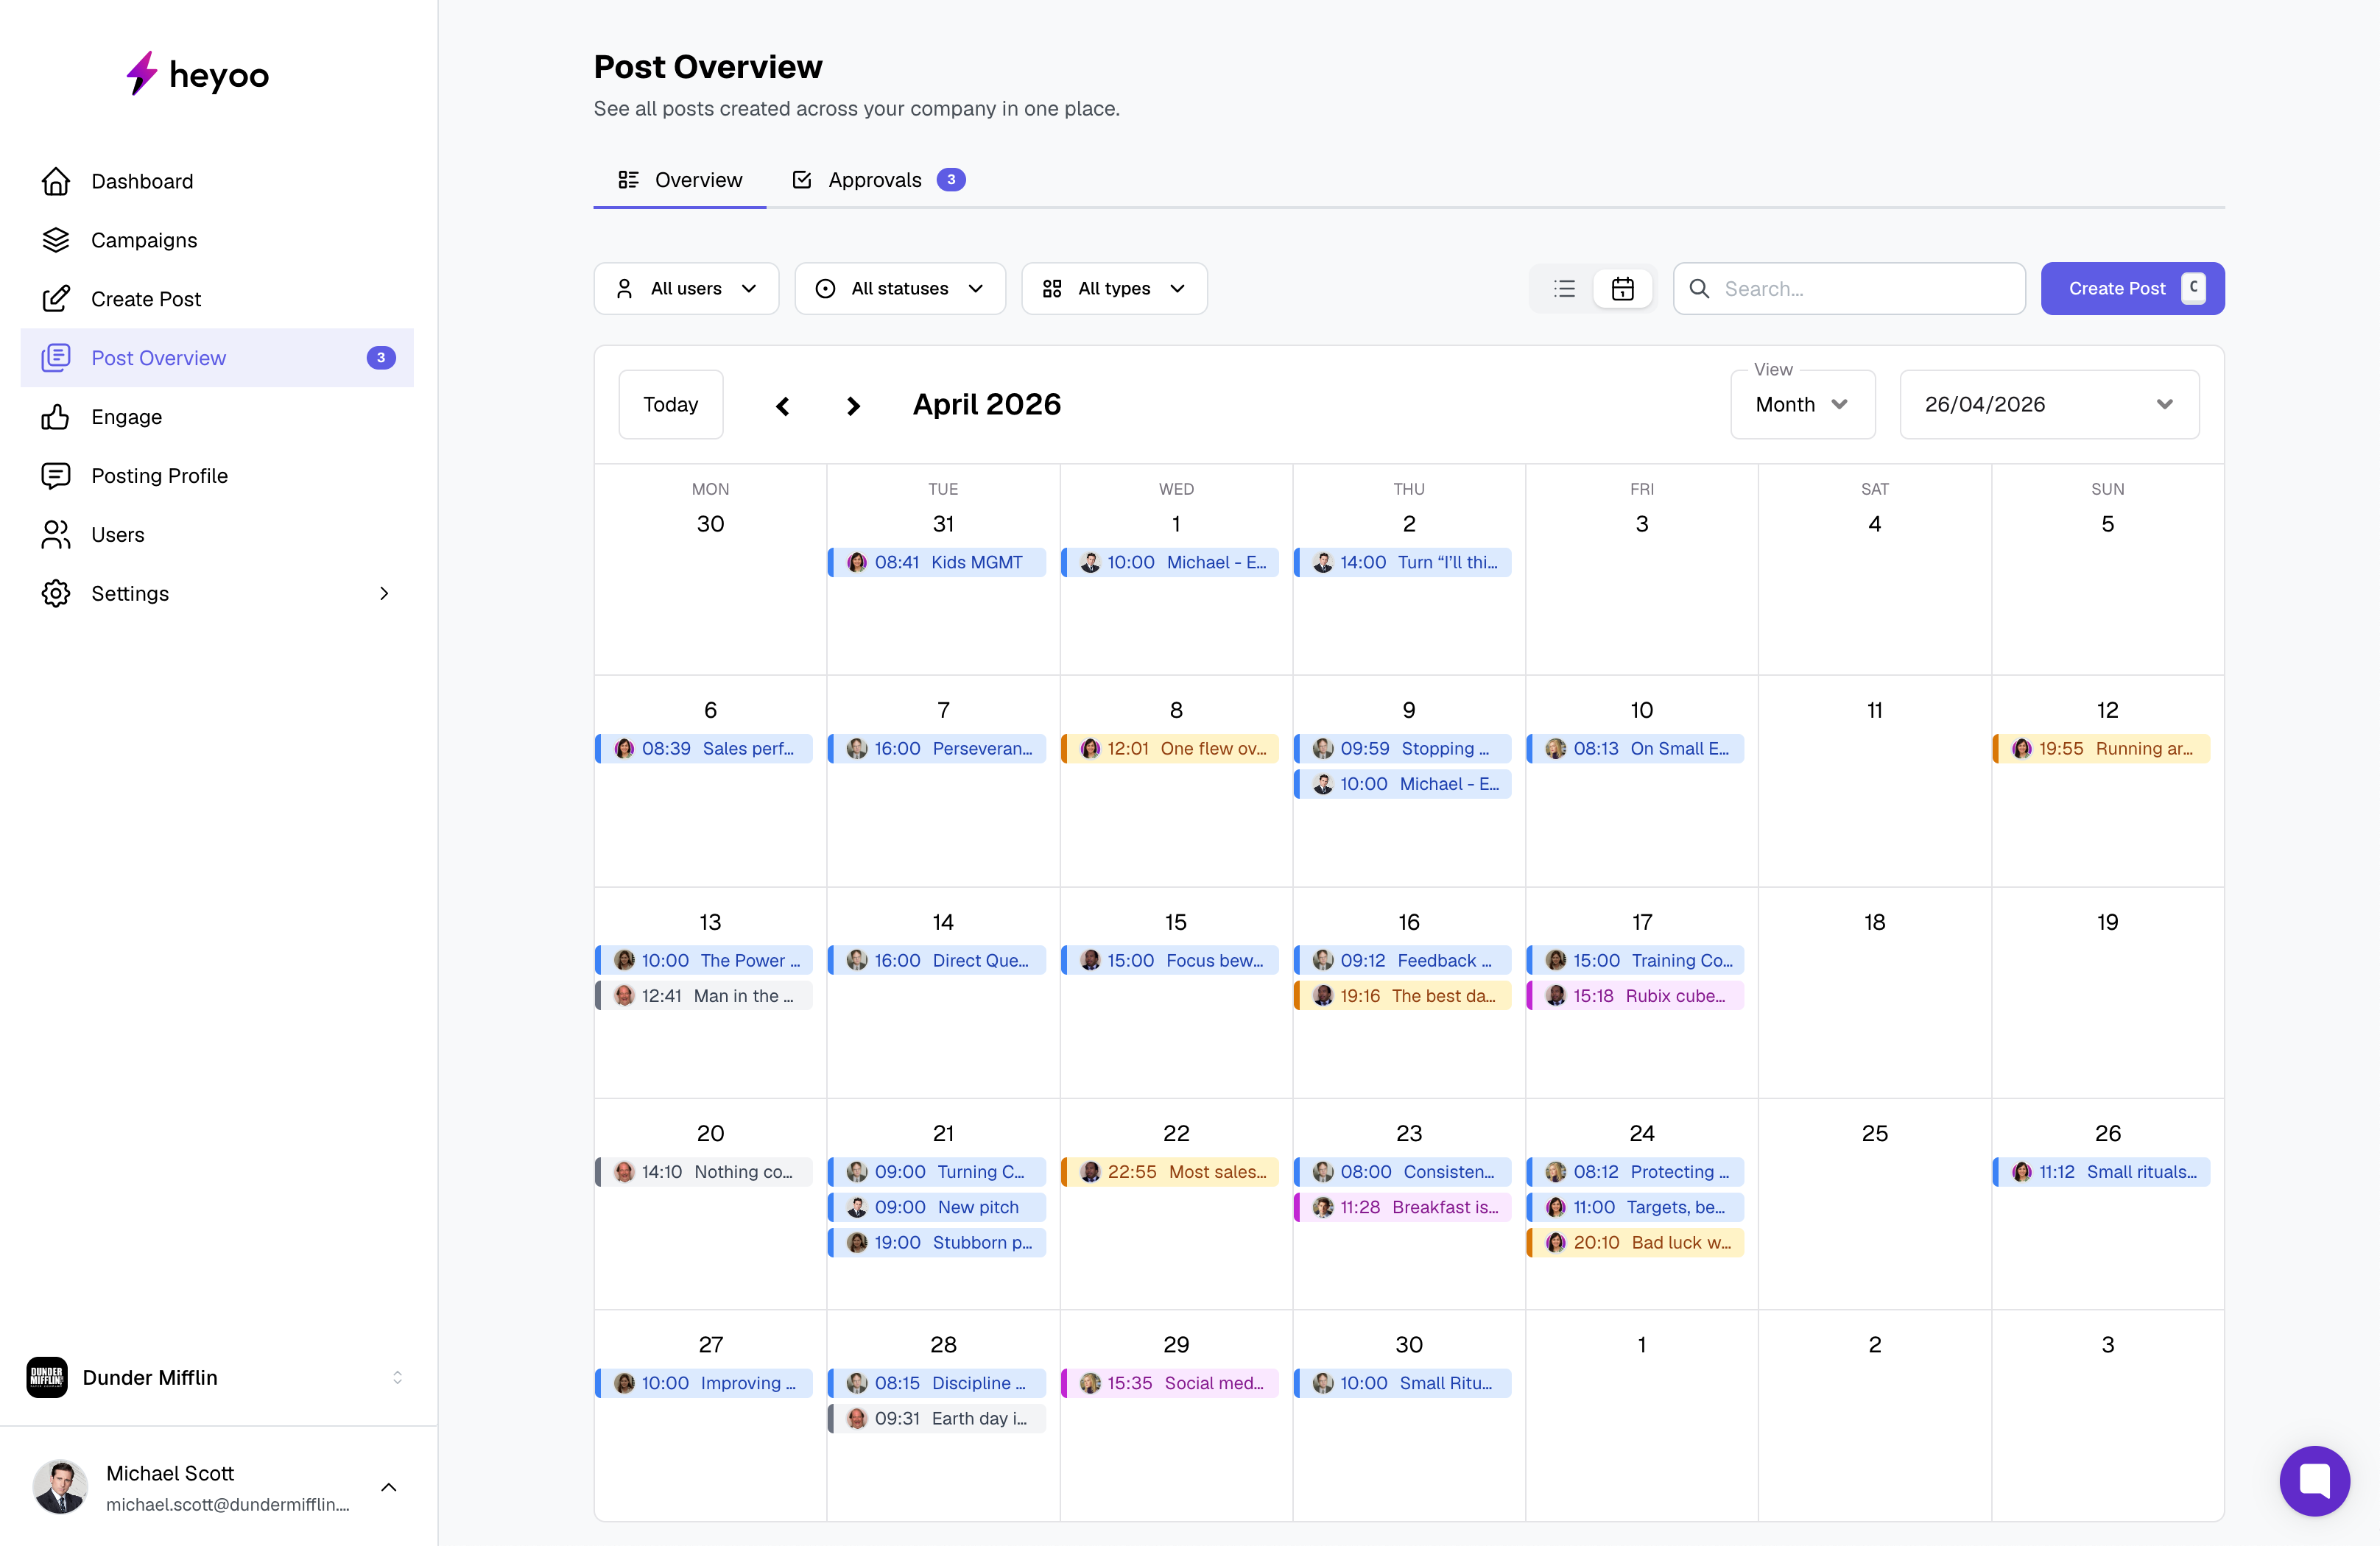
In Heyoo, marketeers (admins) can create posts for managed users. When creating a post for a managed user, their approval settings determine whether the post needs to be approved before it is published.
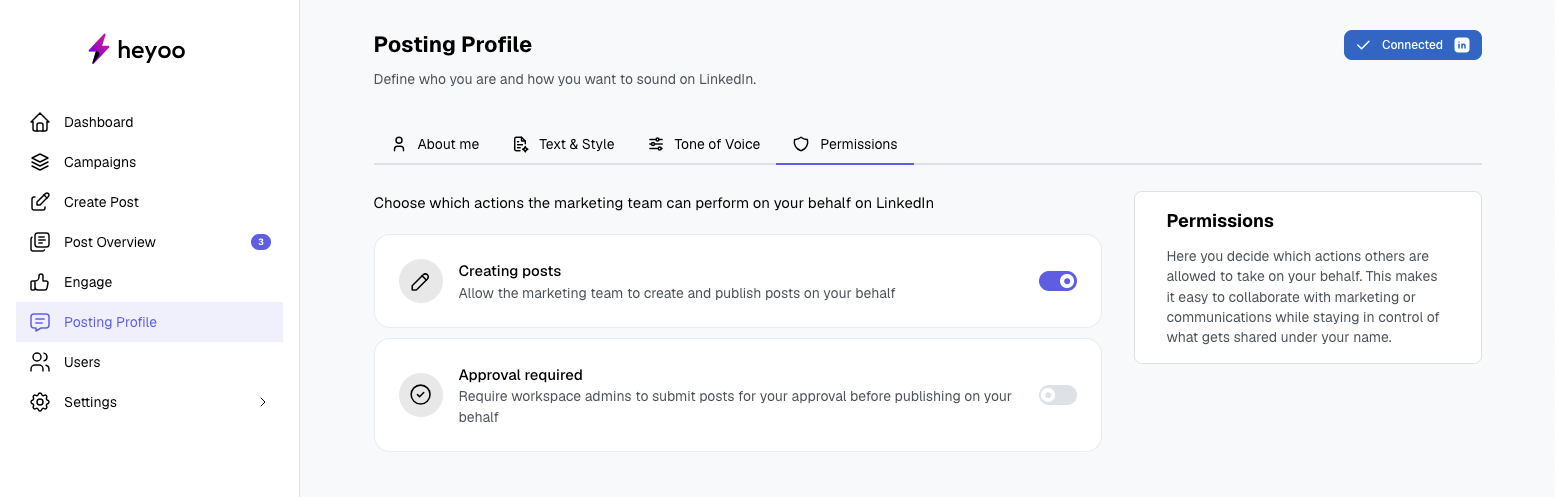
All posts that are in the approval flow will be visible in the tab Post Overview > Approvals.
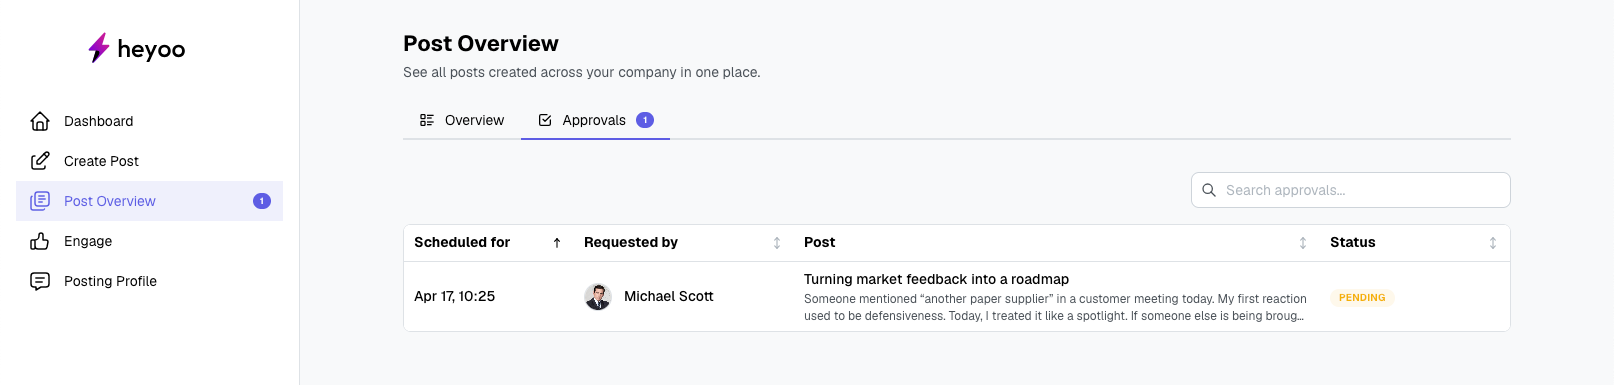
Approval is determined by each user in their Posting Profile > Permissions,
Here, users can choose:
Whether marketing can create posts for them
Whether those posts require approval before publishing
This means:
Some posts must be approved before they go live
Other posts can be scheduled directly
When creating a post, Heyoo automatically applies the correct workflow based on these settings. You will always see the right option (for example “Send for approval” or “Schedule post”).
When you create a post, there are different ways it can move toward publishing. Depending on the user’s approval settings, a post can be sent for approval or scheduled directly.
In addition, users can choose to request a review from marketing before publishing.
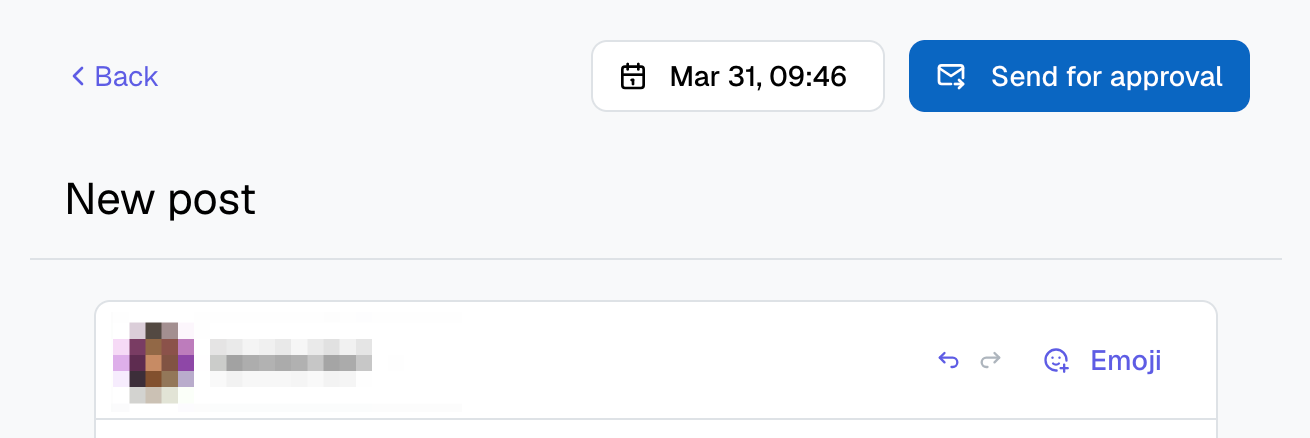
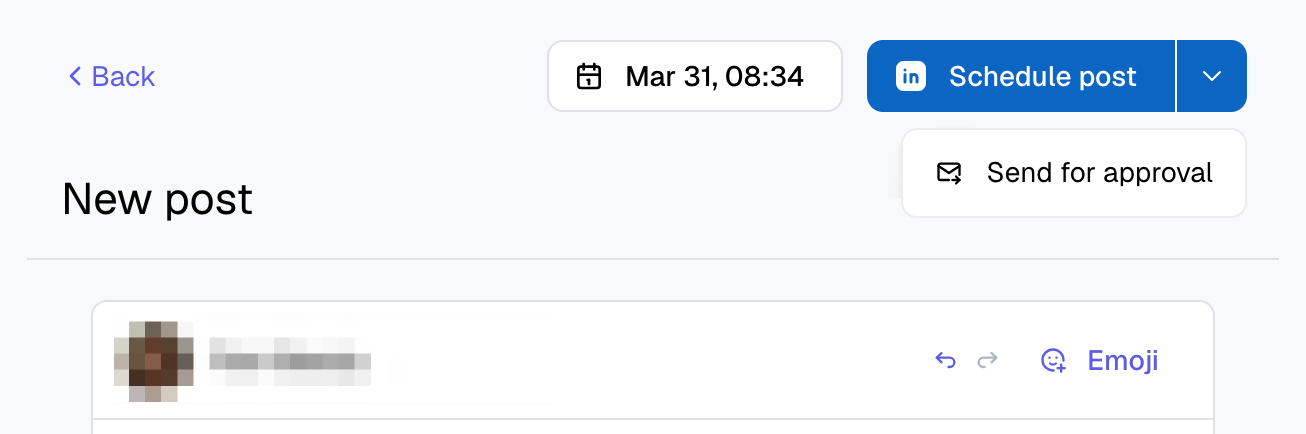
What you will see:
A “Send for approval” button
What happens:
The post is scheduled and sent to the user for approval
The post will not be published until approval is given
The post will appear as pending approval in the calendar until it is approved
What you will see:
A “Schedule post” button
What you can do:
Schedule the post directly (as approval is not required by the user)
Or choose Send for approval if you still want the user to review it before publishing
You can still choose to send the post for approval, even if approval is not required by default. For example, this can be useful if you want the user to confirm the wording before the post is published, add a personal note, or request the user to use the ‘Edit on LinkedIn’ option to tag others.
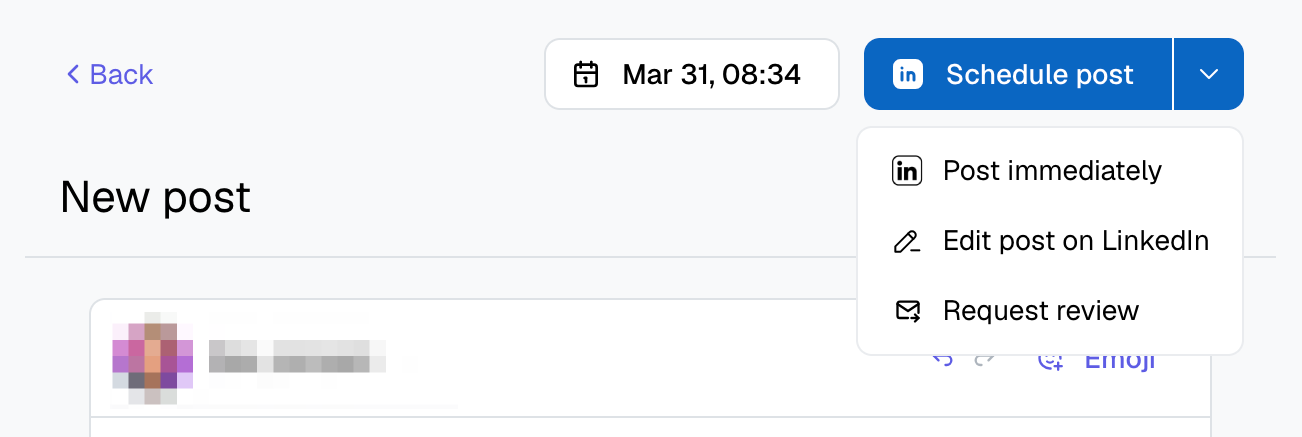
When users create posts for themselves, they always have full control:
They can can:
Schedule the post
Post immediately
Edit the post on LinkedIn (e.g. to tag people before publishing), or
request review (sends the post to marketing for feedback / change request).
When a review is requested, the post is shared with marketing (admins), who can then review, comment, and make changes. Any changes can be tracked using “Compare changes”.
When a post is sent for approval, the user will receive it in their Post Overview > Approvals tab. In the calendar, the post appears as yellow, meaning it is waiting for their approval.
When the user opens the post, they see the full content that was prepared for them, along with any comments from marketing. On the top right side, they have the actions available to decide what happens next.
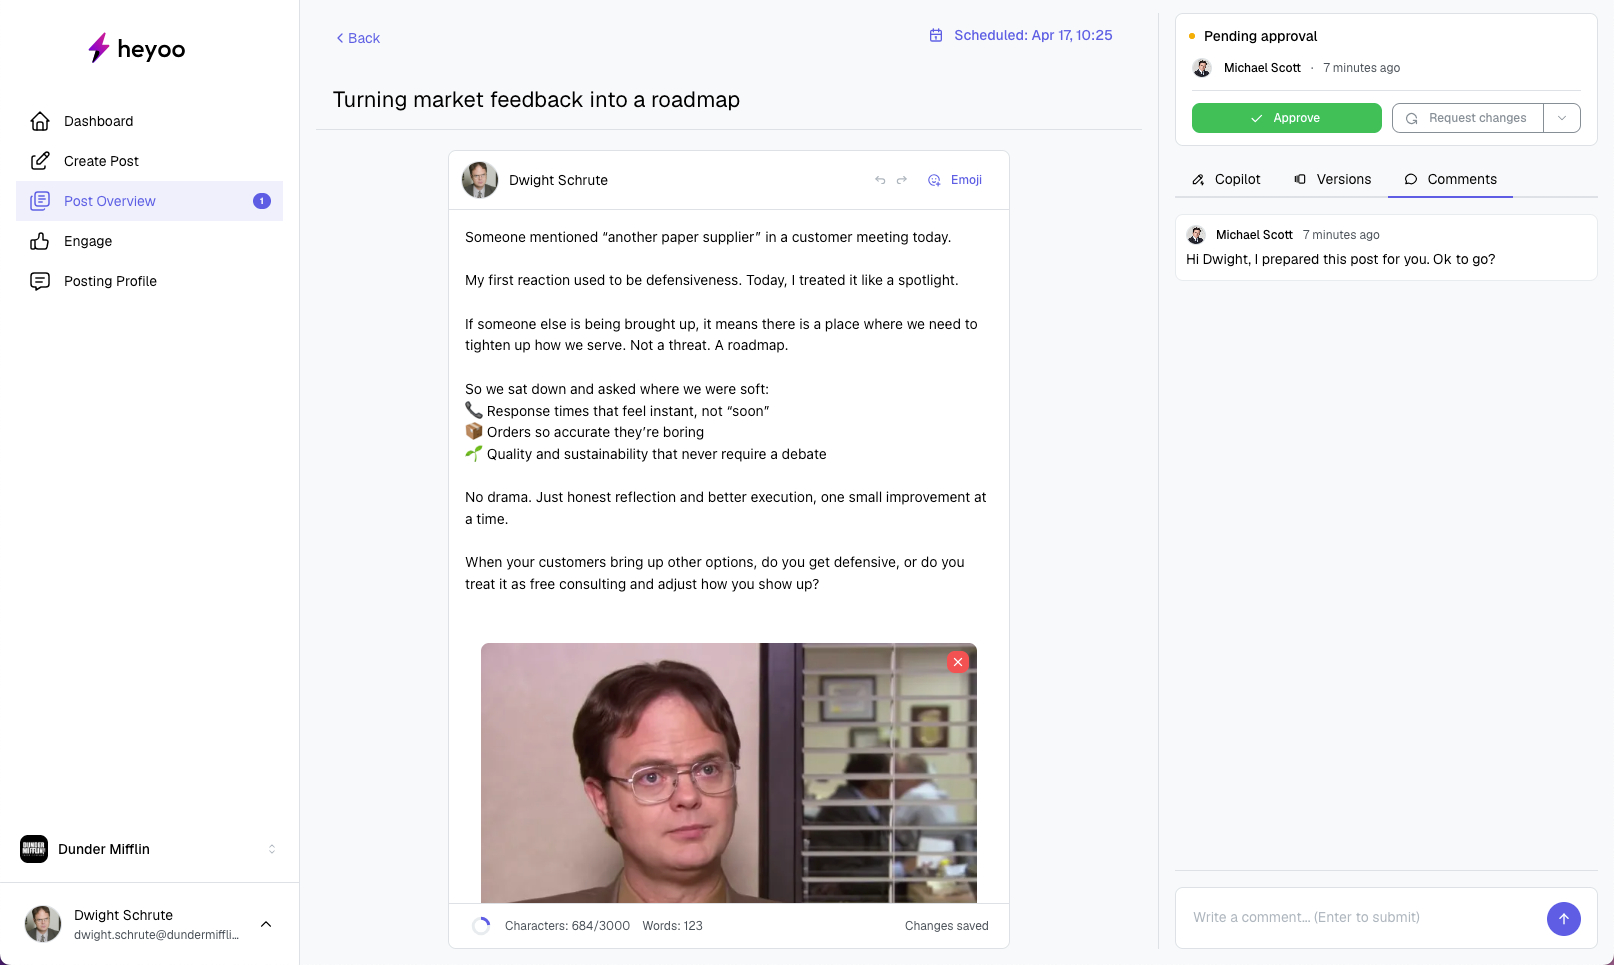
At this stage, the user can:
Review the content of the post, and change the visual used
Add a comment to provide feedback or context
Edit the post directly to better match their tone or perspective
Approve the post
Request changes (a comment is required)
Reject the post
In many cases, approval is not just a yes/no step. The user can edit the post and approve it in one flow. For example, they might adjust the wording, or add their own personal experience or viewpoints.
Once they click Approve:
The post becomes scheduled and ready
It turns blue in the calendar
It will be published at the scheduled time
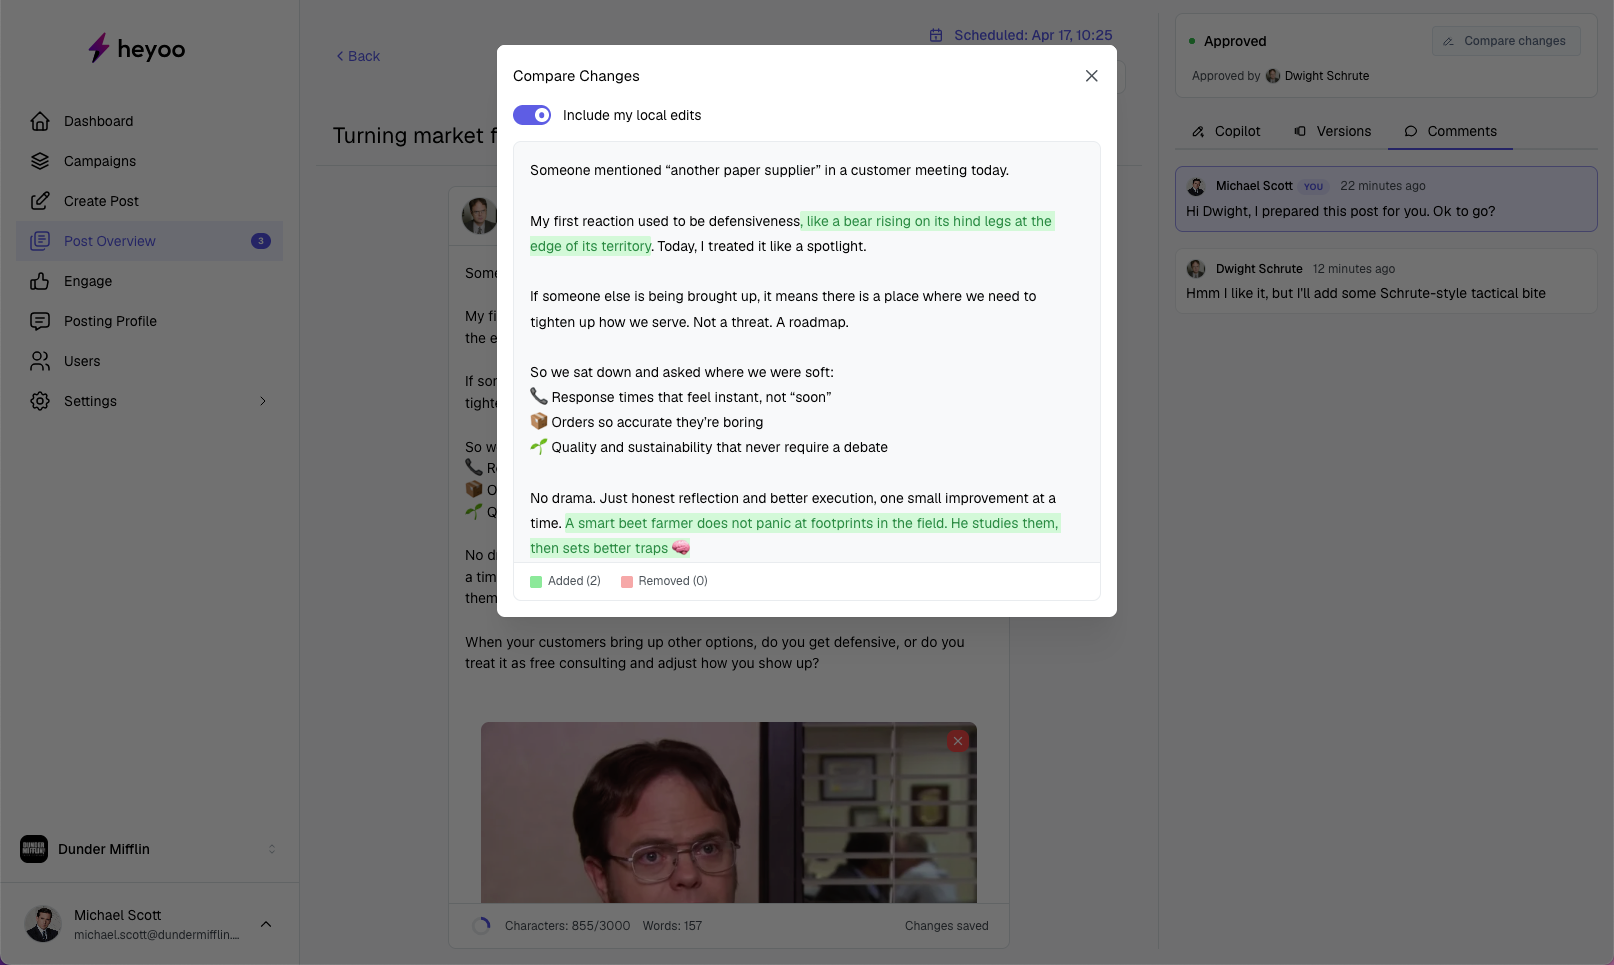
All changes made by the user are tracked. Marketing can open the post, view the comments, and use “Compare changes” to see exactly what was added or modified.
This ensures full transparency between marketing and the user, while still allowing the user to make the post their own before it goes live.
The calendar is the single source of truth for your post status.
Each post is shown on the calendar with a color that indicates its status:
Light Grey | Draft post |
Grey | LinkedIn is not connected (post will not be published until connection is restored) |
Pink | In review by marketing (after requesting a review) |
Yellow | Pending approval from the user |
Blue | Approved, scheduled and ready to be published |
Green | Published (the post is live on LinkedIn) |
Important:
Only blue posts will be published
Grey, pink, and yellow posts still require action
If a LinkedIn connection expires, a post can automatically change from blue to grey and will not be published until reconnected.
Approval is determined by the user’s settings in Posting Profile > Permissions
You cannot publish a post immediately if approval is required
Every post must have a scheduled date and time (unless posting immediately for yourself)
If a post is not blue, it will not be published
Feedback (comments) and changes are always visible for all users with access to a post